Future bandits was my first attempt at making something serious with 3DS Max. I started working
on it in Max 1.2 and ended in Max 2.
My main source of inspiration, was a huge construction site which took place just outside
of my previous working place. Every day on my way to and from work I would always look for
some interesting aspects of the site. Like how the site changed over time, new machines
, how the light affected the surfaces of the various materials at different times of
the day, etc. I always found something which I could use in my scene, I would just twist it
a bit to give it a bit more futuristic look. This image was done over a period of about 3 months,
working during weekends mostly.
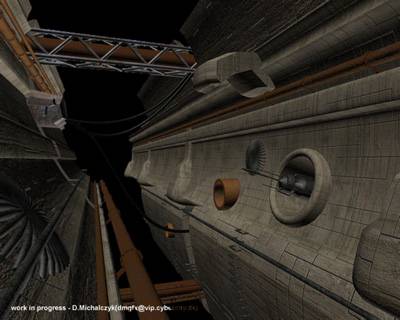
The very beginning.. no lights, just the main construction.
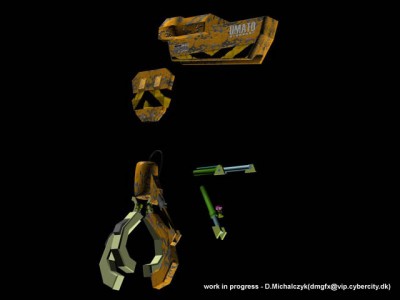
Building the crane
First lights come to play. Looks atmospheric..
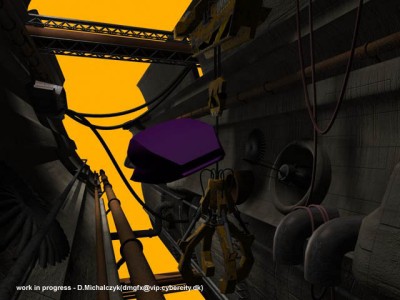
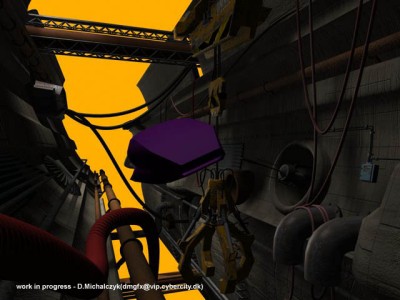
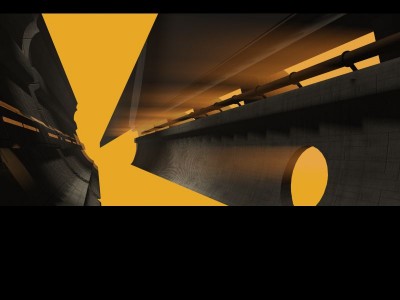
Since in the back there will be a relatively light orange sky, I changed the background
to the color similar to this future sky. This gives better indication of how the image
will look without having to draw the sky map right away. It also gives you a better idea
how the objects 'behave' in relation to each other, now that the background is different
(Note, how the 'feel and look' in this shot changes compared to the one above, with black background).
Additionally, the body of the air-vehicle is already here, being the main motive, lets you
think of how to arrange the rest of the image around it.
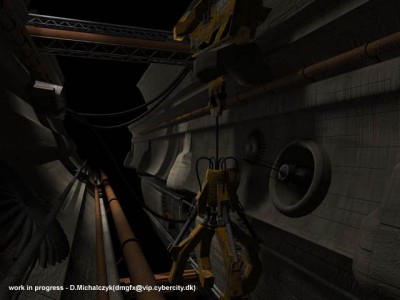
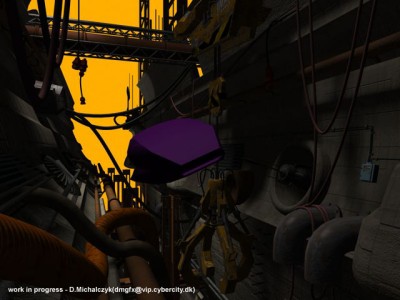
adding some hardware..
..and more hardware. Note that most of the shadows look weird. This is intentionally
to save rendering time. The majority of the lights here are shadow
mapped, with some fast to render settings. At this stage of development it is
important to create just enough(the base) of the overall 'feel and look' of the image,
without going much into details.
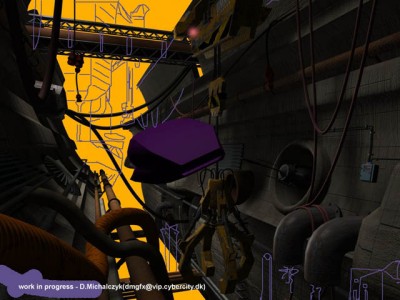
While working on an image I often do some very rough sketches of the next stage on top
of the latest rendering.
This helps the visualization process, and gives you a better idea of eventual
changes to make, without ending up doing unnecessary work in 3D.
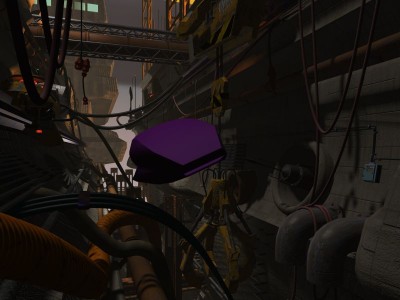
The building in the back comes to play with some hazing. Note how much depth this creates.
Suddenly the foreground 'jumps' to the front while objects farther away fade away, making the
whole image much more dimensional and natural looking.
The first sky map with wrong settings. Experimenting with first windows on the building in the back.
Experimenting with the render intensive volume lights. In situations like this, to minimize
the rendering time, it is good to isolate the most affected objects and work on them separately, instead
of the whole scene. Here, because of the overlapping of the volumes of the lights, the test renderings took
long time to calculate.
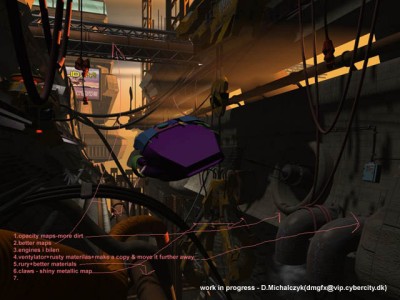
Now, the dusty light rays illusion is in place. Note how this affected the whole image,
which suddenly got a brighter and a more dynamic feel to it. Furthermore, the whole atmosphere
of the image got a bit dramatic, and the afternoon look got enhanced. At the buttom left you can see my notes
which point to things which need to be improved, I do this a lot.
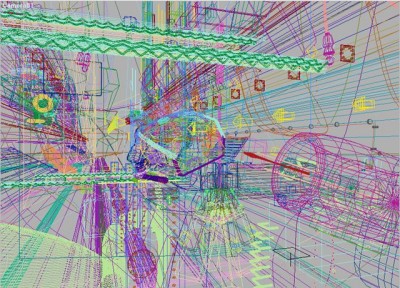
A wireframe shot..
.. and the final rendering. Take a look at the previous shot and note the subtle differences. Some areas got
darker, some areas got higher contrasts, yet other stayed the same. At this final stage, all the
small twisting, improving, adjusting or simply put it polishing the tiny details 'makes' the whole image.
You can see the final rendering in hi resolution by clicking
here
Some technical information:
faces: 800 000+
objects: 2500+
lights: 26
materials/textures/maps: 40+
software: 3DSMax2 and Photoshop 4
rendering engine: default scanline
rendering time: about 2.5hrs(800x600)
hardware: PPro180Mhz/64Mb RAM, no 3d acceleration